Arranging Element Data in an attempt to Close Breaks and Gaps
of the Standard Periodic Tables by using Three-Dimensions
Background:
Roy had avoided taking Chemistry in high school because he was disturbed by the dichotomy he observed between the Periodic Law and the medium long form of the periodic table, in that chemists had not corrected it before then.
Later in life, as a science museum exhibit designer, he explored the idea of correcting - by addition of a 3rd dimension - what he recognized was the still popular, but still disjointed tabular format.
Using a print of the then current periodic table, logic, and a simple cut & paste method, he was - in a brief experiment - able to prove his hypothesis that the element line and the property groups could both remain intact when modeled in 3D.
1.I made a print of another designer's 1965 periodic table and made the prescribed standard color designations in each element data box [Fig.1].
2. Cutting the data boxes apart between the rows and discarding the non-data box excess paper I found myself with numerous periodic table segments of various lengths [Fig.2].
3. (For realism, if using a current version, blank out elements 45 & 61, and trim elements after 103 from the resulting strips to bring elements to match Roy's 1965 chart.)
4. I then scotch taped together all segments' right and left ends strictly according to atomic numbers, creating a multicolored ribbon.
Assembly:
5. I started to manipulate the ribbon in order to align matching color data boxes top and bottom and tape them together [Fig.3].
6. Failing to find a mate for the first element after much trial and error, I found that by ignoring the #1 and wrapping the 'ribbon' back around, that a vertical connection could be made for the second databox/element.
7. Taping #2 above #10 was the first color/property match. The next two elements had matches also, immediately giving hope of the success of the concept.
8. The next color match for elements 10, 11, and 12, after wrapping, were 18, 19, and 20 [Fig.4]. Most - but not all, a bit worrisome - of the intervening elements were also vertically color matched with the data boxes above, and there were the of same number of them. I taped 18-20 to 10-12.
9. I noticed that the following 2 element boxes were the same color as those above, and I taped #3, #11, and #19 together and #4, #12, and #20 to each other [Fig.4].
10. Following them was a long (10) string of a different color. The first match to a color above was #31 and #13. Taping them together required that I fold #31 forward on the left side. I did that and taped it to #13.
11. I taped #38 and #39 to the matching colors above, #19 and #20.
12. A second long string of different color followed, and I taped the #49 element to #31 [Fig.4], as they matched.
13. The construction was getting unwieldy, so I did some taping where it would help to stabilize it [Fig.6].
14. Another long string followed, but this one was a different color than before, and longer, which could be a problem.
15. Making the expected loop, I found that it came up short by one but I taped the following color matched elements together, #81 to #49.
16. I taped the two ends together at the top, as I had done with the other loop, folded it out there and taped #72 to #39 [Fig.8].
17. Wrapping to tape #86 to #53, I could see that #86 had missing elements on both sides.
18. Then I taped #88 to #56, and even though it was a different color than the long strip above, made a fold and taped 99 to 67 (like my cheat-sheet, another periodic table.)
19. Checking my reference again, I found that Lu was actually part of the following long strip [Fig.7].
20. I cut apart the top tape, moved the fold left, and taped Lu to Y [Fig.8].
21. Now the length of the third row of the first loop matched the second row, and I taped them in the middle [Fig.9].
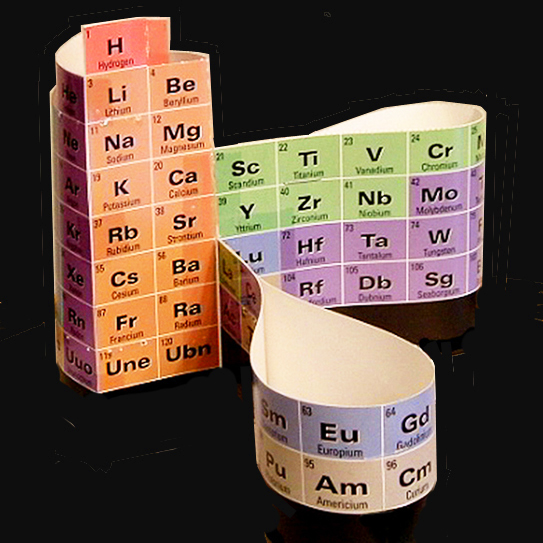
22. As all the elements were now used, I did some more stability taping. I then wrapped the next part of the ribbon all the way around to meet the first loop at #103 [Fig.10].
23. This loop continued only part way, and I finished by taping all loose vertically associated colors [Fig.11], with only H (#1) disconnected.
That was the end of the experiment, and I was satisfied that my hypothesis was confirmed, and that this awkward and unfinished product could be a correct model of the instructions of the Periodic Law.
Decades later, when I resolved to apply the concept to a production teaching aid, I obtained a patent on the down-slant of data boxes that permitted the end of each period to abut the beginning of the next, and (not incidentally) allow the construction and element databoxes to sit upright.
I also recognized the necessity of a departure from the rest of the data box dimensions for H, stretching it from over Li to circle over the tube (the Main Group) to attach to He - touching at Be, C, F, and the corner of Ne as well.
After years of identifying the AAE with periodic tables and promoting it as one, I recognized that the AAE was far closer to the actual reality of the elements, and that it could provide it's most important service to students as a true depiction of the Periodic Law, the lesson step prior to the see-all-the-elements-at-once Periodic Tables.
I began the process of repositioning it in Science and education as modeling both my concept of the Chemical Element System in nature, and depicting the Periodic Law specifically, particularly useful in transitioning new students and other laymen while learning about atoms and element properties to the Periodic Table for doing the learning and work of chemistry!
When used in support of the Periodic Law's first half (about the elements being in order) so that the second half can take place (the elements being periodic) the AAE validates the Periodic Law - so teachers have an alternative to misinforming their students that their Periodic Table shows the Periodic Law - a VERY common mistake that diminishes ordinary student understanding, and damages the trust of the exceptional student: for the teacher, the Law, and the Table.
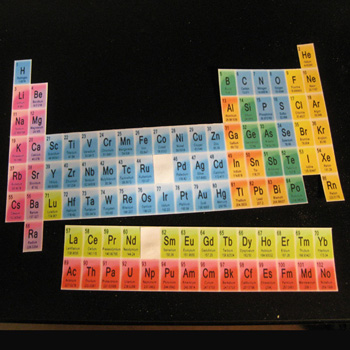 Fig.1
Fig.1 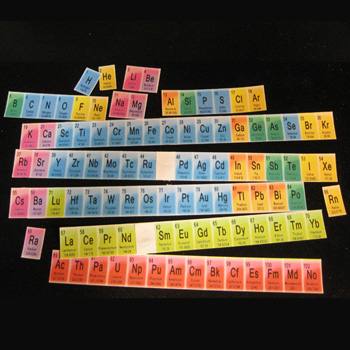 Fig.2
Fig.2 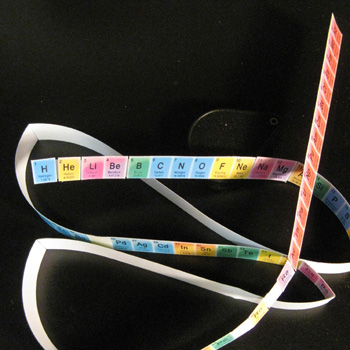 Fig.3
Fig.3 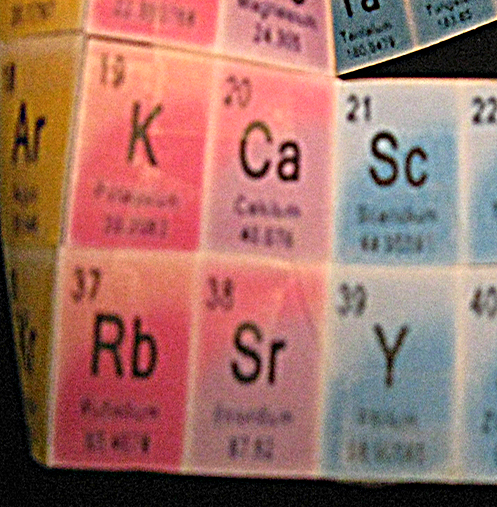 Fig.4
Fig.4 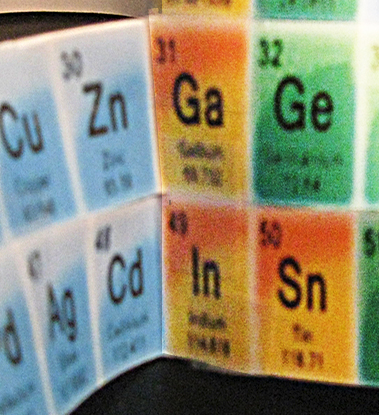 Fig.5
Fig.5 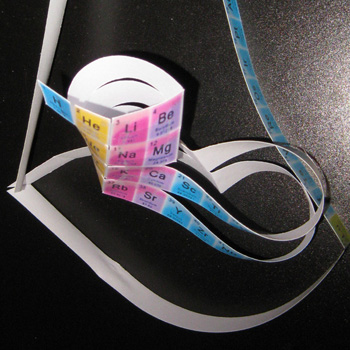 Fig.6
Fig.6 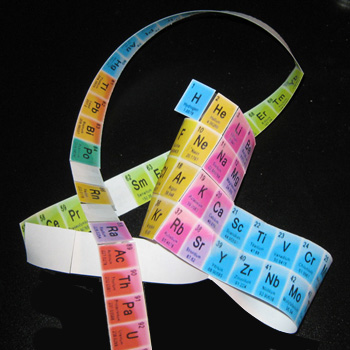 Fig.7
Fig.7 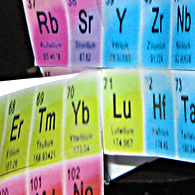 Fig.8
Fig.8 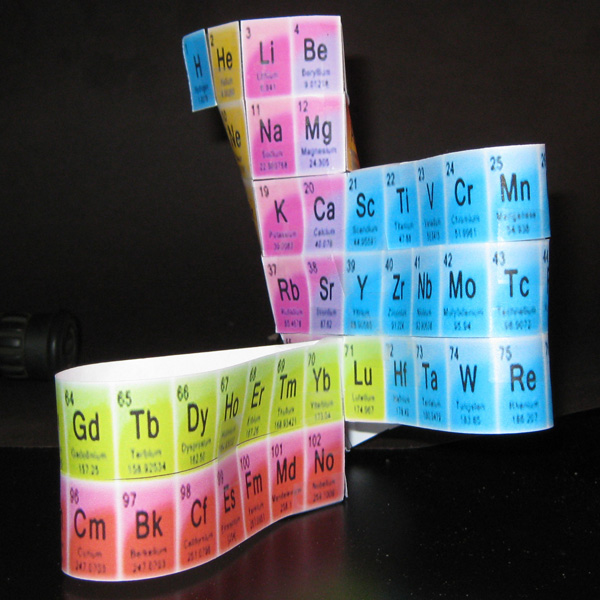 Fig.9
Fig.9 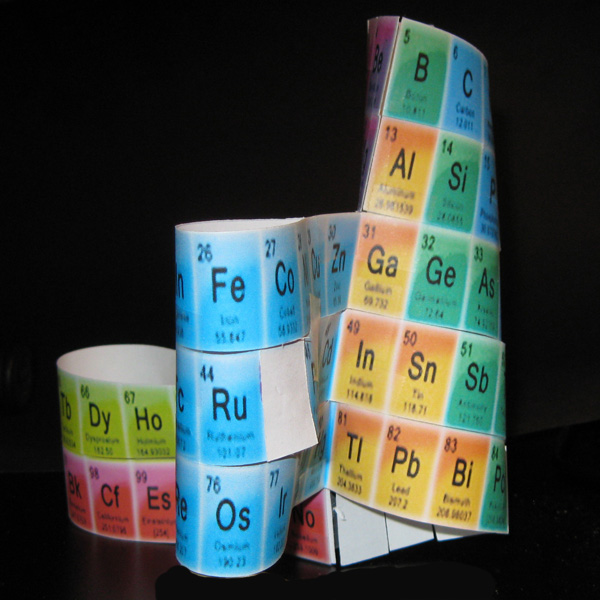 Fig.10
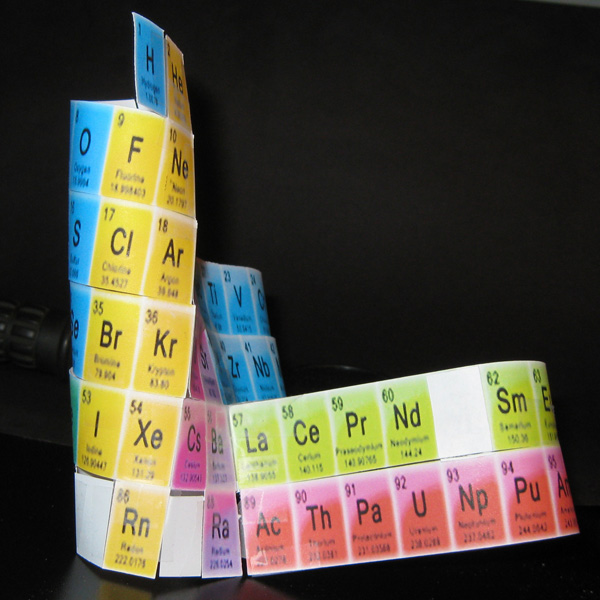 Fig.11
Alexander Arrangement of Elements DeskTopper, circa 2000
http://www.allperiodictables.com/AAEpages/aaeDeskTopper.html
for details

Alexander Arrangement of Elements illustrated Chemical Element System model, circa 2008
https://chemicalelementsystem.com/helix for details
< BACK